NestJS에서 Swagger를 사용하는 방법
May 02, 2021•☕️ 3 min read
이 글은 NestJS에서 Swagger를 사용하면서 정리한 글입니다.
이 글에서 사용된 코드는 여기에서 확인할 수 있습니다.
Swagger란?
Swagger는 API 문서 자동화 도구이다. 이전의 프로젝트에서 사용한 경험으로는 API 문서를 따로 작성할 필요 없이 코드를 수정하면서 API 문서를 같이 수정할 수 있는 것이 큰 장점이었다.
만약에 코드와 API 문서를 따로 관리하게 되면 코드를 수정하였는데 API 문서 최신화를 잊어버려서 다른 팀원들에게 공유된 API 문서가 실제 API와 다른 문제가 발생할 수 있다.
다른 장점으로는 Swagger는 API를 테스트할 수 있는 화면을 제공한다는 것이다.
NestJS에서 Swagger 설치
Swagger를 사용하는 방법은 간단하다. NestJS에서 사용할 수 있도록 모듈이 제공되고 있다. 아래의 모듈들을 설치하면 된다.
npm install --save @nestjs/swagger swagger-ui-expressNestJS(fastify)를 사용하는 경우 swagger-ui-express 대신 fastify-swagger를 설치해야 한다.
npm install --save @nestjs/swagger fastify-swaggerNestJS 버전 9 이상
NestJS 공식 문서 - 마이그레이션 가이드를 참고하시면 NestJS v9 부터는 @nest/swagger 패키지를 사용할 때 swagger-ui-express 및 fastify-swagger 패키지는 더 이상 필요하지 않다고 한다.
npm install --save @nestjs/swaggerNestJS에서 Swagger 사용하기
main.ts에서 SwaggerModule를 사용해서 초기화한다.
따로 setupSwagger를 만들었다. DocumentBuilder로 문서의 기본을 구성할 수 있다. 제목, 설명, 버전 등과 같은 속성을 설정할 수 있는 몇 가지 메서드를 제공한다. API 문서를 만들기 위해 SwaggerModule의 createDocument() 메서드를 사용한다.
import { NestFactory } from '@nestjs/core';
import { AppModule } from 'src/app.module';
import { setupSwagger } from 'src/util/swagger';

async function bootstrap() {
  const app = await NestFactory.create(AppModule);

  // ... 생략

  setupSwagger(app);

  await app.listen(3000);
}

void bootstrap();
import { INestApplication } from '@nestjs/common';
import { SwaggerModule, DocumentBuilder } from '@nestjs/swagger';
/**
* Swagger 세팅
*
* @param {INestApplication} app
*/
export function setupSwagger(app: INestApplication): void {
const options = new DocumentBuilder()
.setTitle('NestJS Study API Docs')
.setDescription('NestJS Study API description')
.setVersion('1.0.0')
.build();
const document = SwaggerModule.createDocument(app, options);
SwaggerModule.setup('api-docs', app, document);
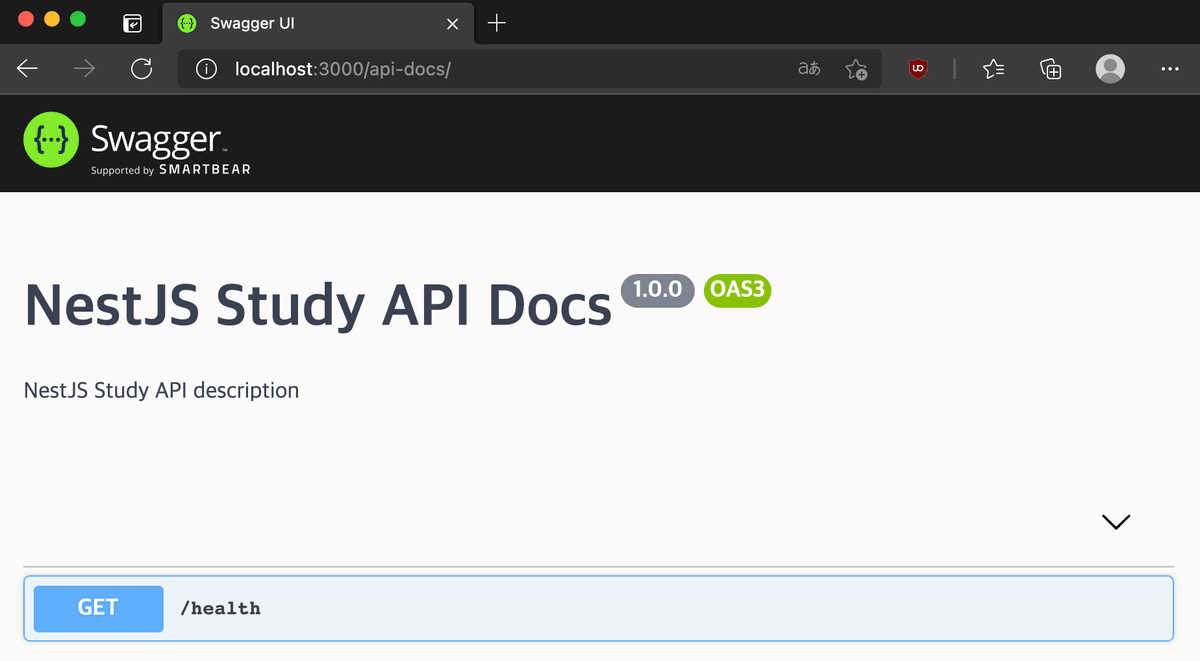
}SwaggerModule.setup('api-docs', app, document);의 코드에서 setup() 메서드를 통해서 Swagger UI를 마운트 하는 경로를 설정할 수 있다. 브라우저에서 http://localhost:3000/api-docs로 이동하면 Swagger UI가 표시된다.
기초 구성은 끝났으니 이제 만들어진 API에 문서화를 해보자.
@nestjs/swagger에서 제공하는 데코레이터들을 사용하면 된다.
import { ApiTags, ApiOperation, ApiResponse } from '@nestjs/swagger';

@Controller('v1/users')
@ApiTags('유저 API')
export class UserController {
  constructor(private readonly userService: UserService) {}

  @Post()
  @ApiOperation({ summary: '유저 생성 API', description: '유저를 생성한다.' })
  @ApiCreatedResponse({ description: '유저를 생성한다.', type: User })
  async create(@Body() requestDto: UserCreateRequestDto, @Res() res: Response) {
    const user: User = await this.userService.createUser(requestDto);

    return res.status(HttpStatus.CREATED).json(user);
  }
}
컨트롤러에만 Swagger를 사용하고 Swagger UI를 확인해본다.
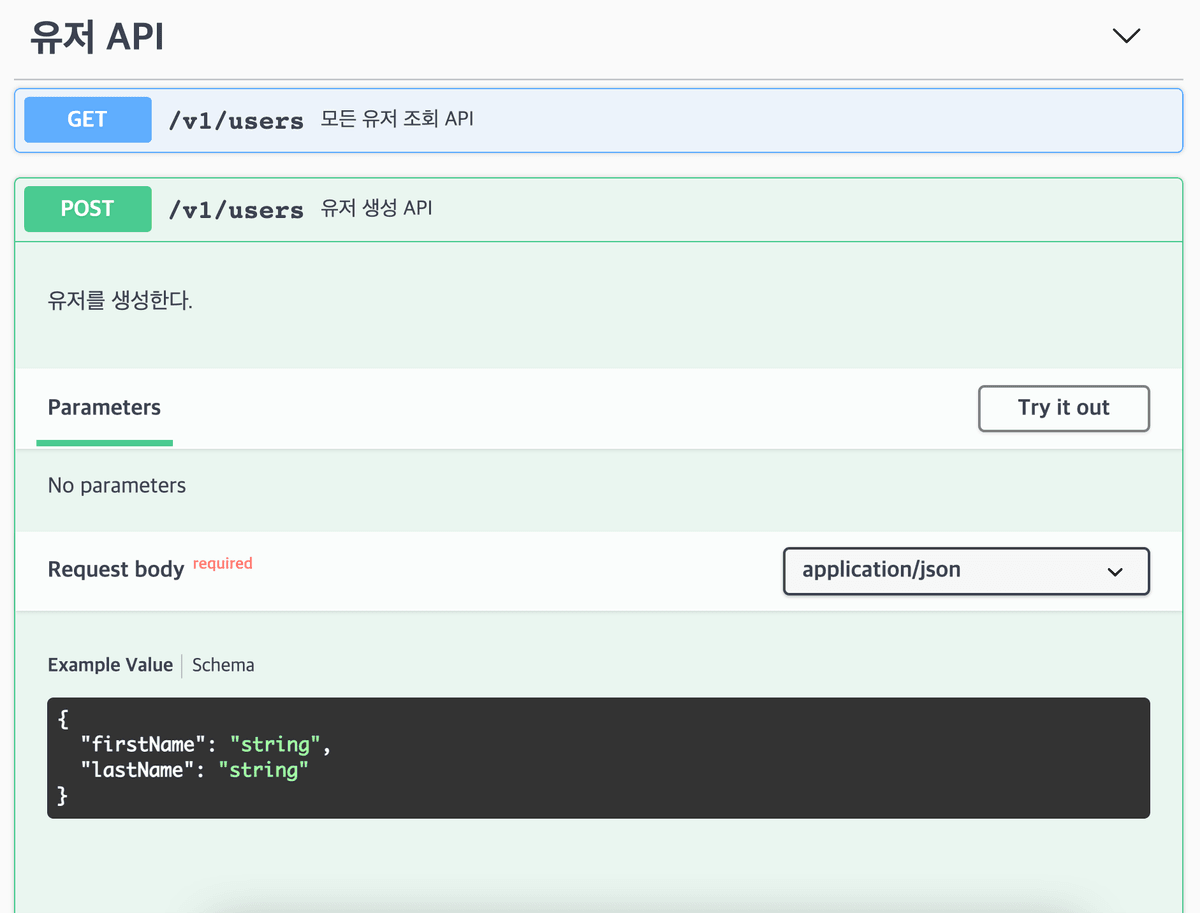
API에 대한 Swagger UI가 만들어졌는데, Try it out 버튼을 클릭하면 API의 동작을 테스트할 수 있는 화면이 나온다.
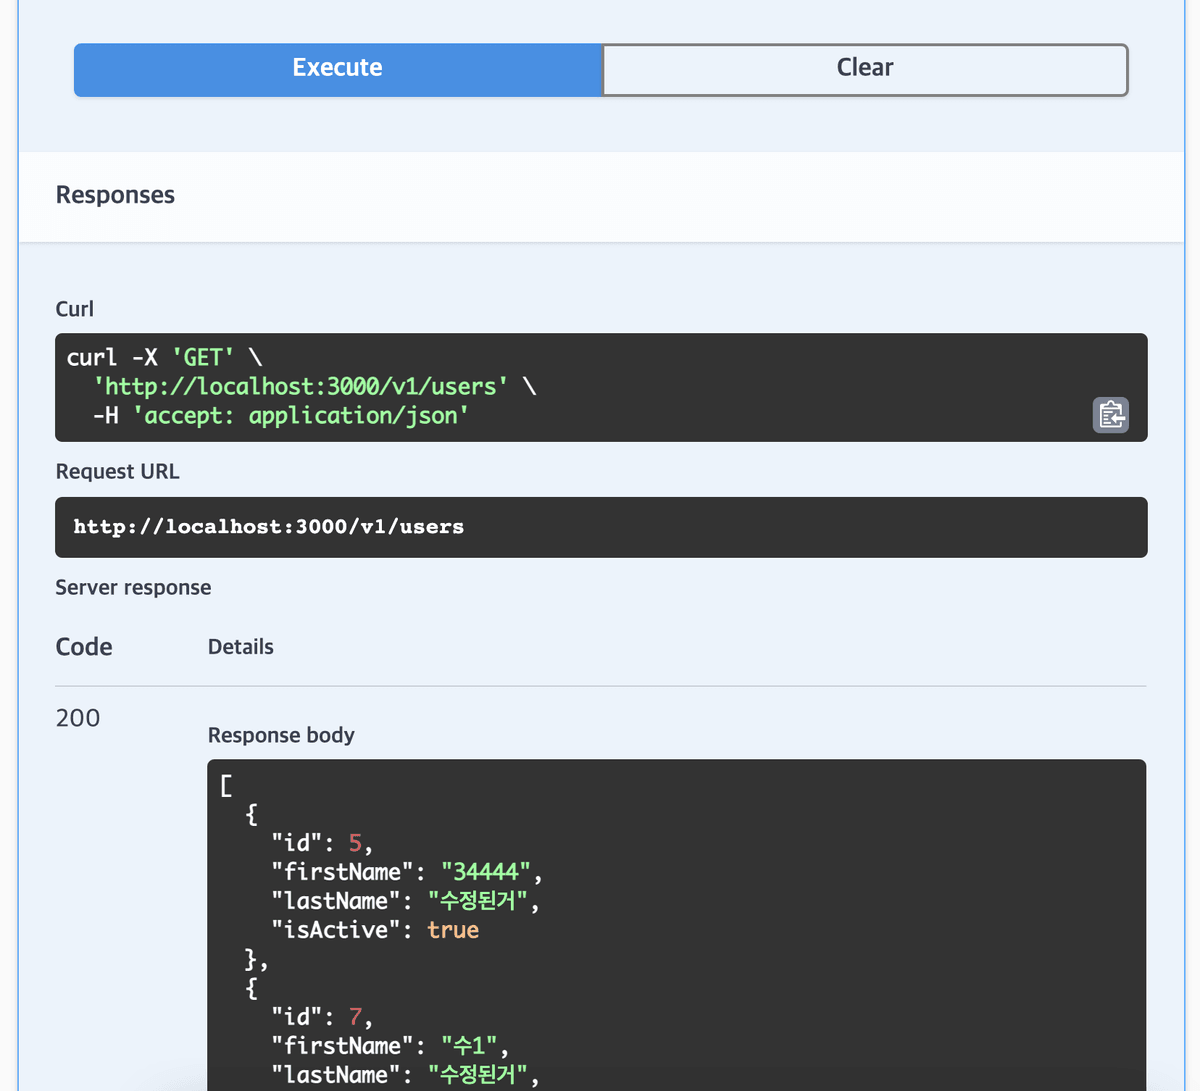
Execute 버튼을 클릭하면 API를 호출해서 응답을 확인할 수 있다.
@ApiTags()로 ‘유저 API’를 설정하였는데 해당 컨트롤러가 어떤 API 인지 설정할 수 있다. 각 API에 대한 설명으로는 @ApiOperation()로 설정할 수 있다. @ApiCreatedResponse()와 같은 API 응답에 대해서 정의할 수 있는 데코레이터를 제공한다.
@nestjs/swagger에서 제공하는 API 응답 데코레이터들은 아래와 같다.
@ApiOkResponse()
@ApiCreatedResponse()
@ApiAcceptedResponse()
@ApiNoContentResponse()
@ApiMovedPermanentlyResponse()
@ApiBadRequestResponse()
@ApiUnauthorizedResponse()
@ApiNotFoundResponse()
@ApiForbiddenResponse()
@ApiMethodNotAllowedResponse()
@ApiNotAcceptableResponse()
@ApiRequestTimeoutResponse()
@ApiConflictResponse()
@ApiTooManyRequestsResponse()
@ApiGoneResponse()
@ApiPayloadTooLargeResponse()
@ApiUnsupportedMediaTypeResponse()
@ApiUnprocessableEntityResponse()
@ApiInternalServerErrorResponse()
@ApiNotImplementedResponse()
@ApiBadGatewayResponse()
@ApiServiceUnavailableResponse()
@ApiGatewayTimeoutResponse()
@ApiDefaultResponse()
유저를 생성하는 API의 코드에서는 UserCreateRequestDto 클래스를 사용하는데 이 클래스는 현재는 Swagger UI에서는 표시되어 있지 않다.
import { ApiPropertyOptional } from '@nestjs/swagger';
export class UserCreateRequestDto {
@ApiProperty({ description: '이름' })
firstName!: string;
@ApiProperty({ description: '성' })
lastName!: string;
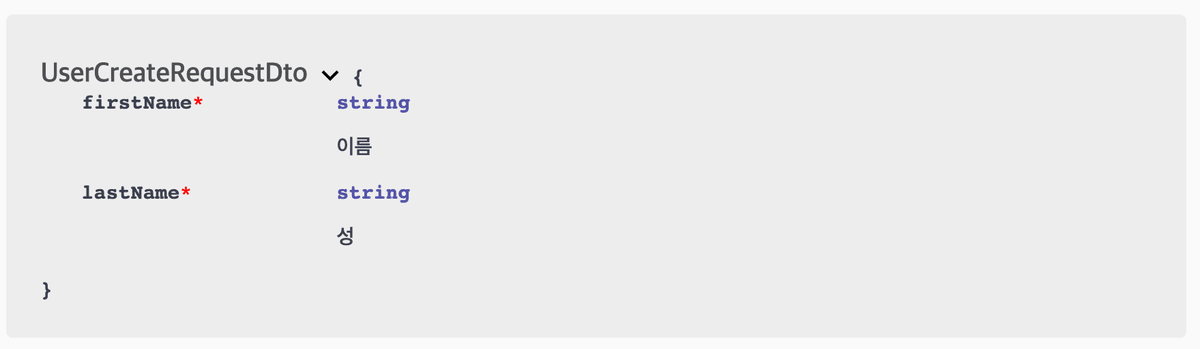
}UserCreateRequestDto 클래스의 속성에 @ApiProperty() 데코레이터를 사용해서 Swagger 문서화를 할 수 있다. @ApiProperty()에서 제공하는 옵션들을 활용해서 다양한 설정도 할 수 있다.
Swagger UI에서 UserCreateRequestDto 클래스의 스키마도 확인할 수 있다.
import { Entity, Column, PrimaryGeneratedColumn } from 'typeorm';
import { ApiProperty } from '@nestjs/swagger';
@Entity()
export class User {
@PrimaryGeneratedColumn()
@ApiProperty({ description: 'id' })
id!: number;
@Column({
length: 50,
})
@ApiProperty({ description: '이름' })
firstName!: string;
@Column({
length: 50,
})
@ApiProperty({ description: '성' })
lastName!: string;
@Column({ default: true })
@ApiProperty({ description: '활동' })
isActive!: boolean;
static of(params: Partial<User>): User {
const user = new User();
Object.assign(user, params);
return user;
}
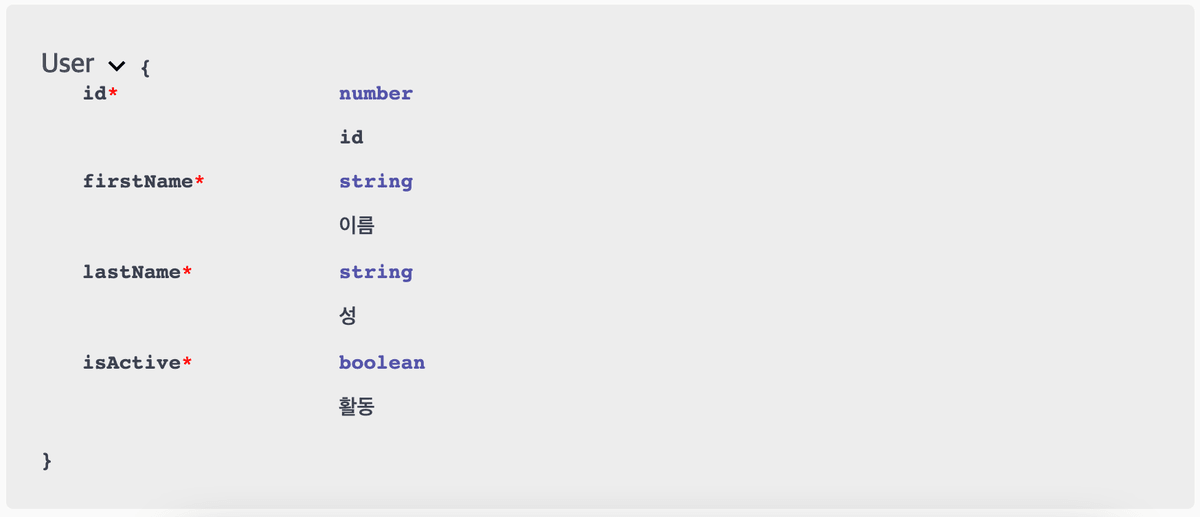
}컨트롤러에서 반환하는 타입을 User로 설정하였는데 User.ts도 Dto 클래스와 같은 방식으로 Swagger를 사용할 수 있다.
마치며
Swagger를 사용하지 않고 Wiki와 같이 API 문서를 따로 관리한다면 Swagger보다 더 유연한 API 문서 제공이 가능할 수 있다. 하지만 Wiki를 사용한다면 코드를 수정할 때마다 최신화하는 것을 잊지 말아야 한다. 그리고 Postman처럼 API를 테스트할 수 있는 도구를 제공해야 한다.
더 많은 @nestjs/swagger의 데코레이터들은 여기에서 확인할 수 있다. 공식문서의 OPENAPI 단락에서 더 많은 정보를 얻을 수 있다.
